Dairy-Free & Gluten-Free Banana Cream Pie
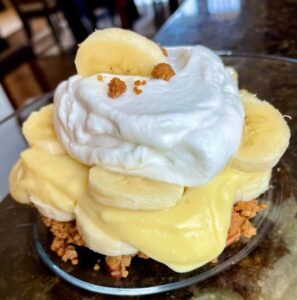
I love all desserts but Banana Cream Pie has to be at the top of the list. My husband asked me to make this DF & GF, so I happily obliged him. Hope you enjoy it as much as he did. You can construct this dessert several different ways. You can make one large pie, individual mini pies or you can layer it into individual cups or bowls like a parfait. When making this dessert, I prefer to make all the components early in the day. The pastry cream and whipped cream both need to be cold when you assemble, so make sure to give yourself plenty of time.
Ingredients:
Pastry Cream:
1/2 cup Sugar
1/4 cup Corn Starch
Pinch of Salt
2 cups Dairy Free Milk (Whole Fat)
4 Large Egg Yolks
2 TBsp Dairy-Free Butter
1 TBsp Banana Emulsion or Extract
Pie Crust:
1 box Gluten-Free Honeygrams (Graham Crackers)
1 1/2 cups Chopped Pecans
1/4 – 1/2 cup Melted Dairy-Free Butter
Whipped Cream:
2 cups Dairy-Free Whipping Cream or 1 can Coconut Cream
1/2 cup Powdered Sugar
1 tsp Vanilla Extract
*Garnish/Assembly 2-3 Bananas
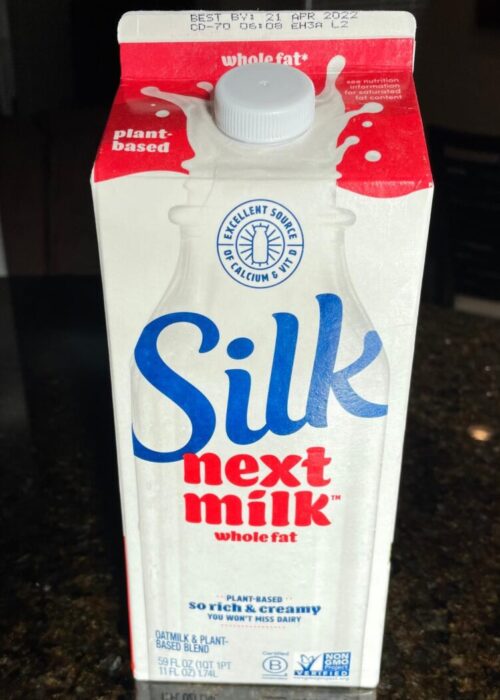
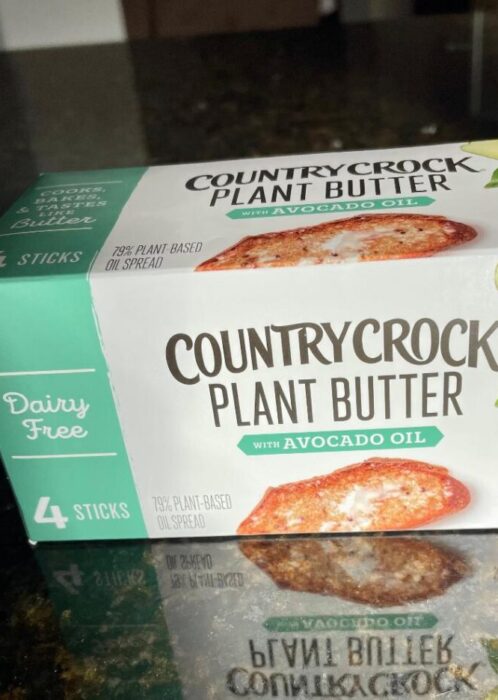
Step one is to make the pastry cream. You’ll want to make this first so you can get it in the fridge to chill. In a medium size pot, whisk all of the ingredients together except for the butter and the banana emulsion/extract. Whisk until everything is well combined and there are no lumps. Cook over medium heat, whisking often and scraping the bottom of the pan. It will seem like its never going to thicken but when it does, it happens fast (this can take up to ten minutes). Keep whisking to keep it smooth. Once it has thickened and it starts to boil, cook for one more minute then remove from the heat. While it’s cooking, set up a bowl with the butter and emulsion/extract in it. Place a sieve/strainer over it then pour the hot pastry cream into it. Gently stir the mixture but don’t press any clumps through the strainer. This step is to remove any lumps caused by the corn starch or egg yolks. Once strained, stir to incorporate the butter and flavoring. Press plastic wrap directly on to the surface. This prevents it from forming a skin. Place in the fridge to completely cool. Below are the dairy-free milk and butter I prefer to use. Most nut based milks are low in fat, this is the best one I’ve found with a higher fat content.
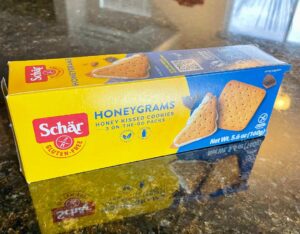
To make the crust, you first need to crush the Honeygrams. You can do this by pulsing them in a food processor or by placing them in a large Ziploc bag and crushing them with a rolling pin. You want a very fine crumb without any large chunks. Chop your pecans finely, making sure you have no large chunks. Melt your butter in the microwave. In a medium size bowl combine the Honeygrams and the pecans. Start by pouring half of the melted butter over the mixture and stir to combine. When you press the mixture against the side of the bowl, it should hold its shape and not crumble. Add more butter as needed to get this texture. If making one large pie, or individual mini pies, scoop the crust mixture into your pie pan/tin and use the bottom of a cup to press into the pan evenly across the bottom and sides. If you want to make a parfait/trifle style, spread the crust mixture on a cookie sheet. Bake the crust for 10 minutes at 350 degrees. Let it cool completely before assembling your dessert. Below are the Honeygrams I used. These can be difficult to find. You can use any gluten-free crackers/cookies you find.
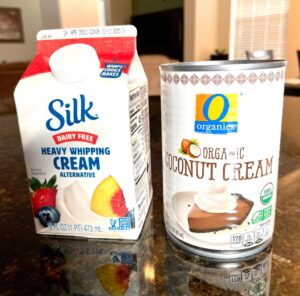
The final component is the whipped cream. Below are two amazing options for making dairy-free whipped cream. Whichever you use, make sure you use it straight out of the fridge. The colder the better. The Silk Whipping Cream is the easier of the two. If you choose to use the canned Coconut Cream, you will open the can and scoop out only the solid portion. You want to drain off all the coconut water. In a medium size bowl, combine the whipping cream or the coconut cream along with the powdered sugar and vanilla. Whisk with a hand mixer until medium peaks form. Don’t over mix or you’ll get butter. You want it to be sturdy but still soft. Cover and keep in the fridge until you’re ready to assemble your dessert.
The assembly is the fun part. First, slice the bananas. You can cut them as thin or thick as you like. I like to spread a layer of pastry cream on top of the crust, spread a layer of sliced bananas then repeat the process with another layer of pastry cream & bananas. On the very top, spread or dollop the whipped cream. From there you can add more sliced bananas. If making individual cups/bowls, crumble the crust mixture and go from there, scooping in the different layers. You’ll want to serve this right after you assemble, when it’s still nice and cold. Enjoy!